")


June 17, 2025
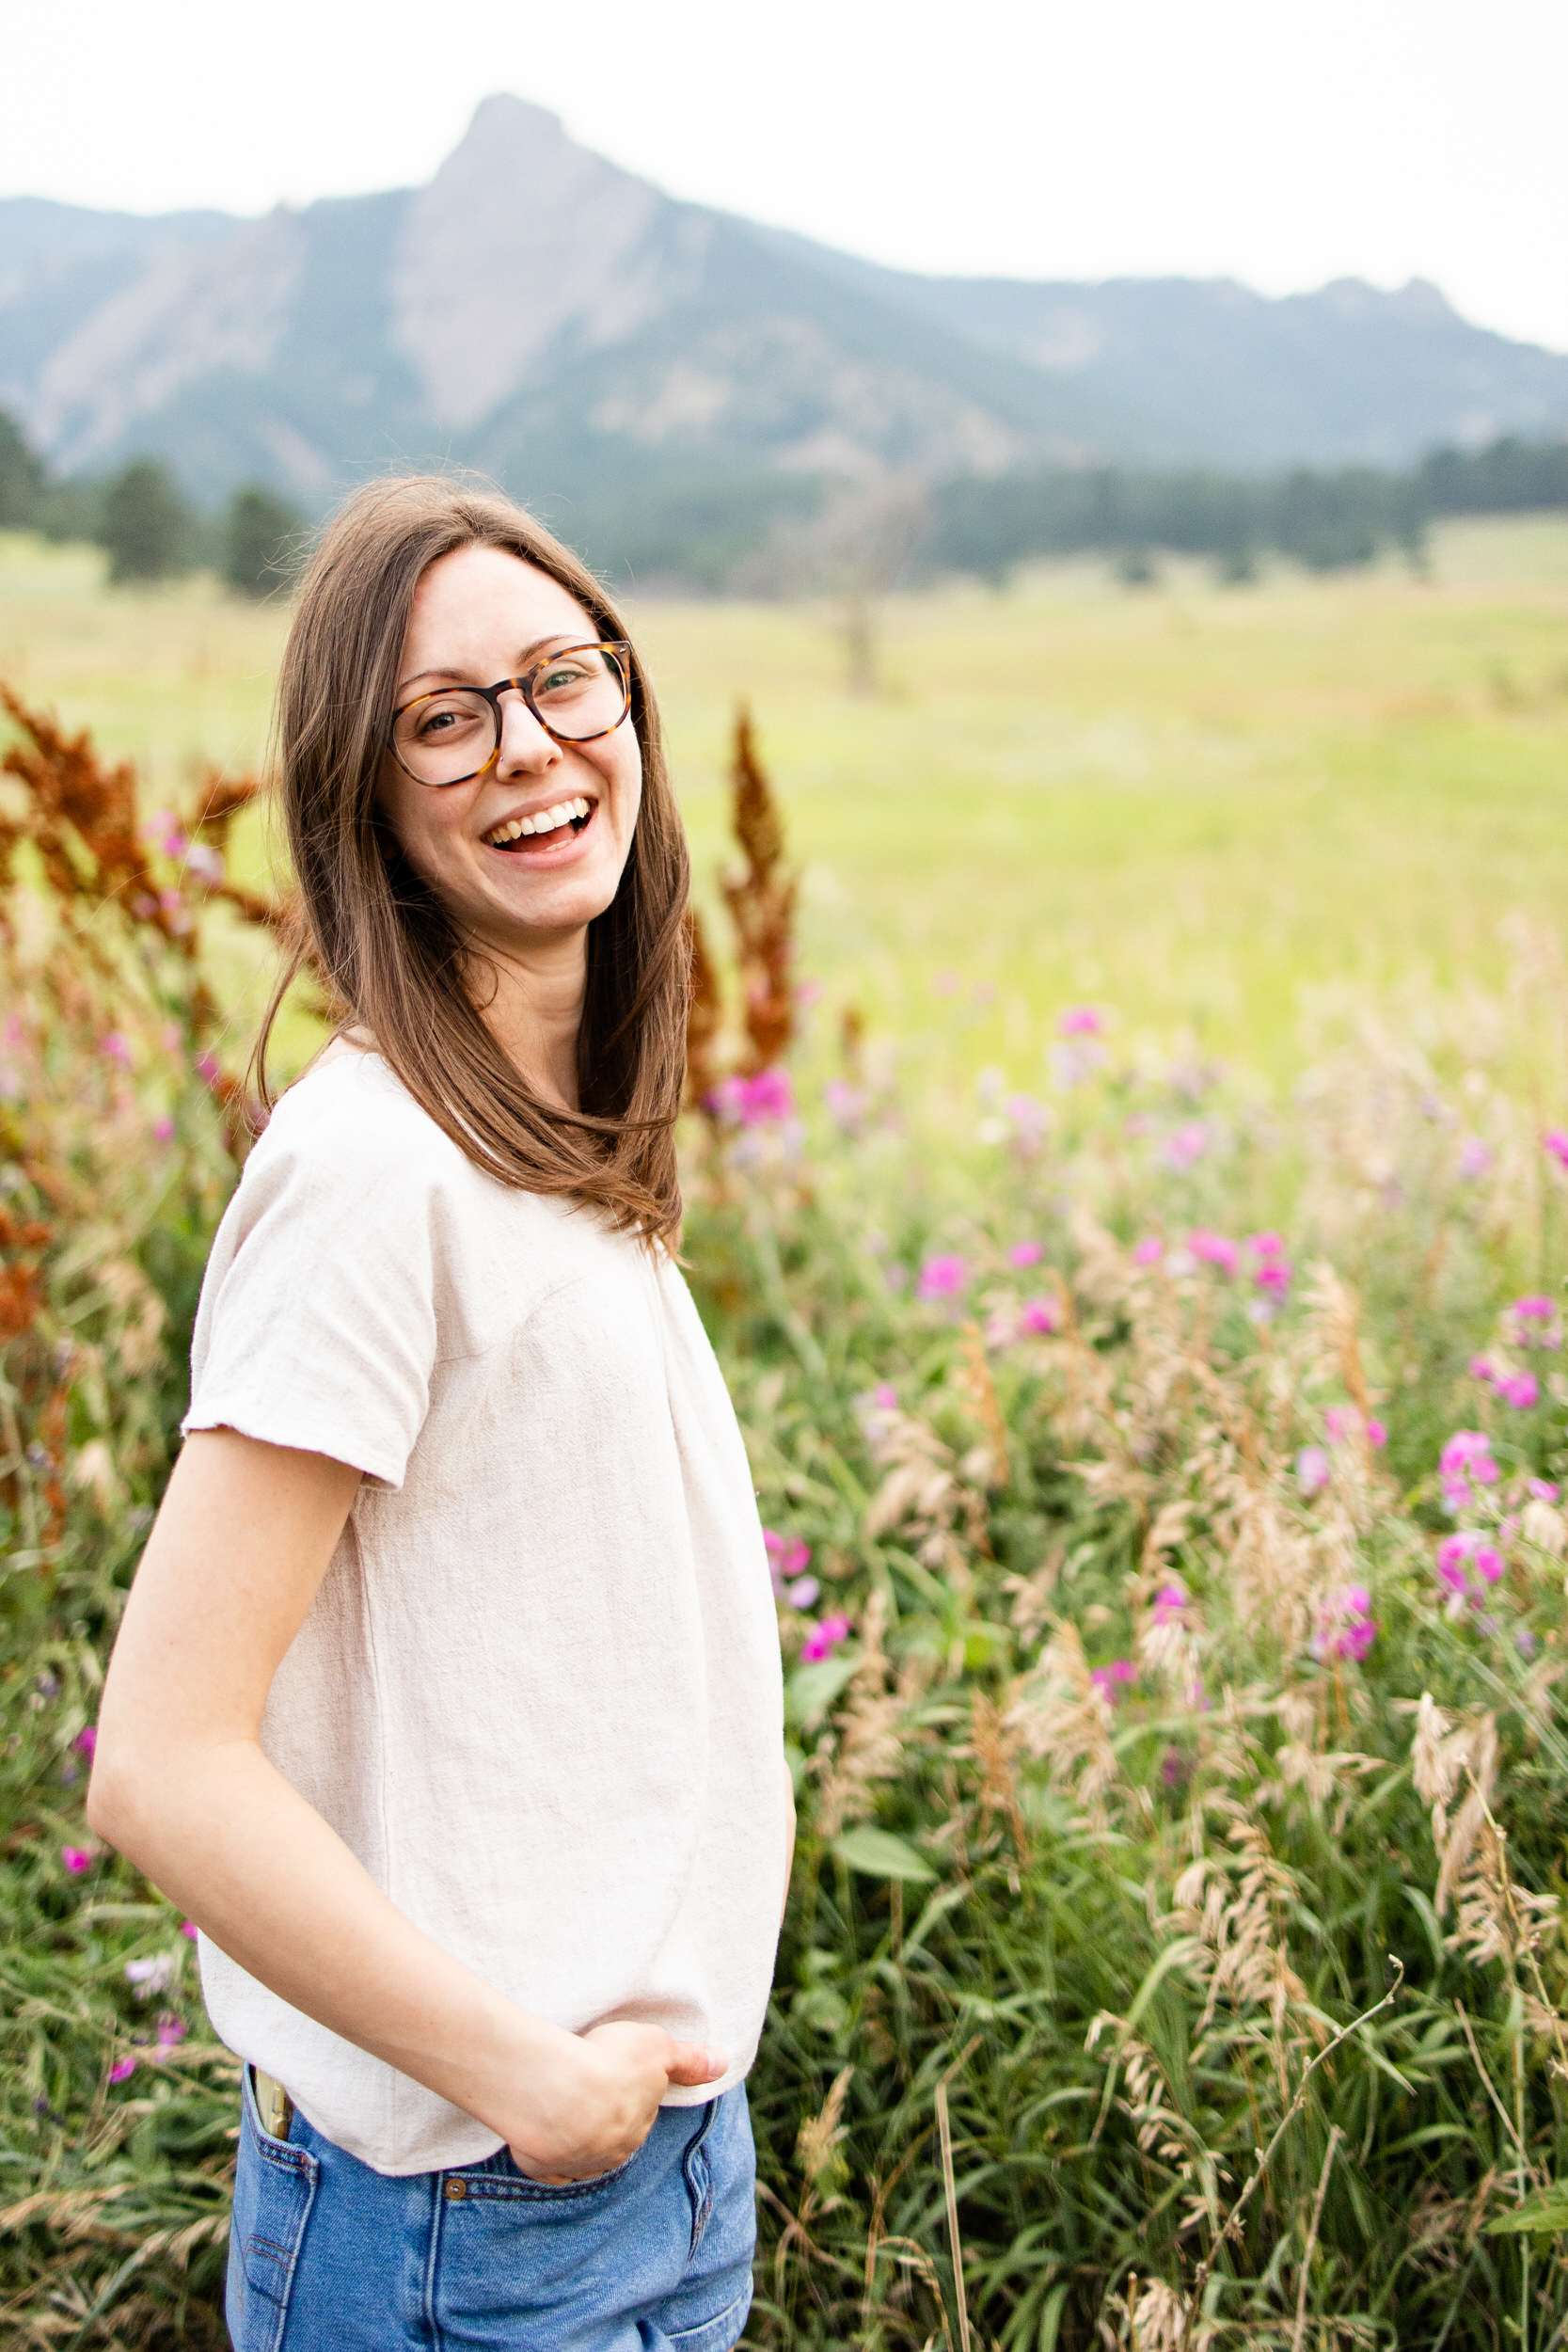
Throughout the summer, I have lots of clients asking for wildflowers in their photos, but many of them don’t want to drive long distances to their session location. While there are plenty of beautiful wildflowers in the mountains, the drive to get to them can be long. But what if I told you there’s a […]
READ MORE
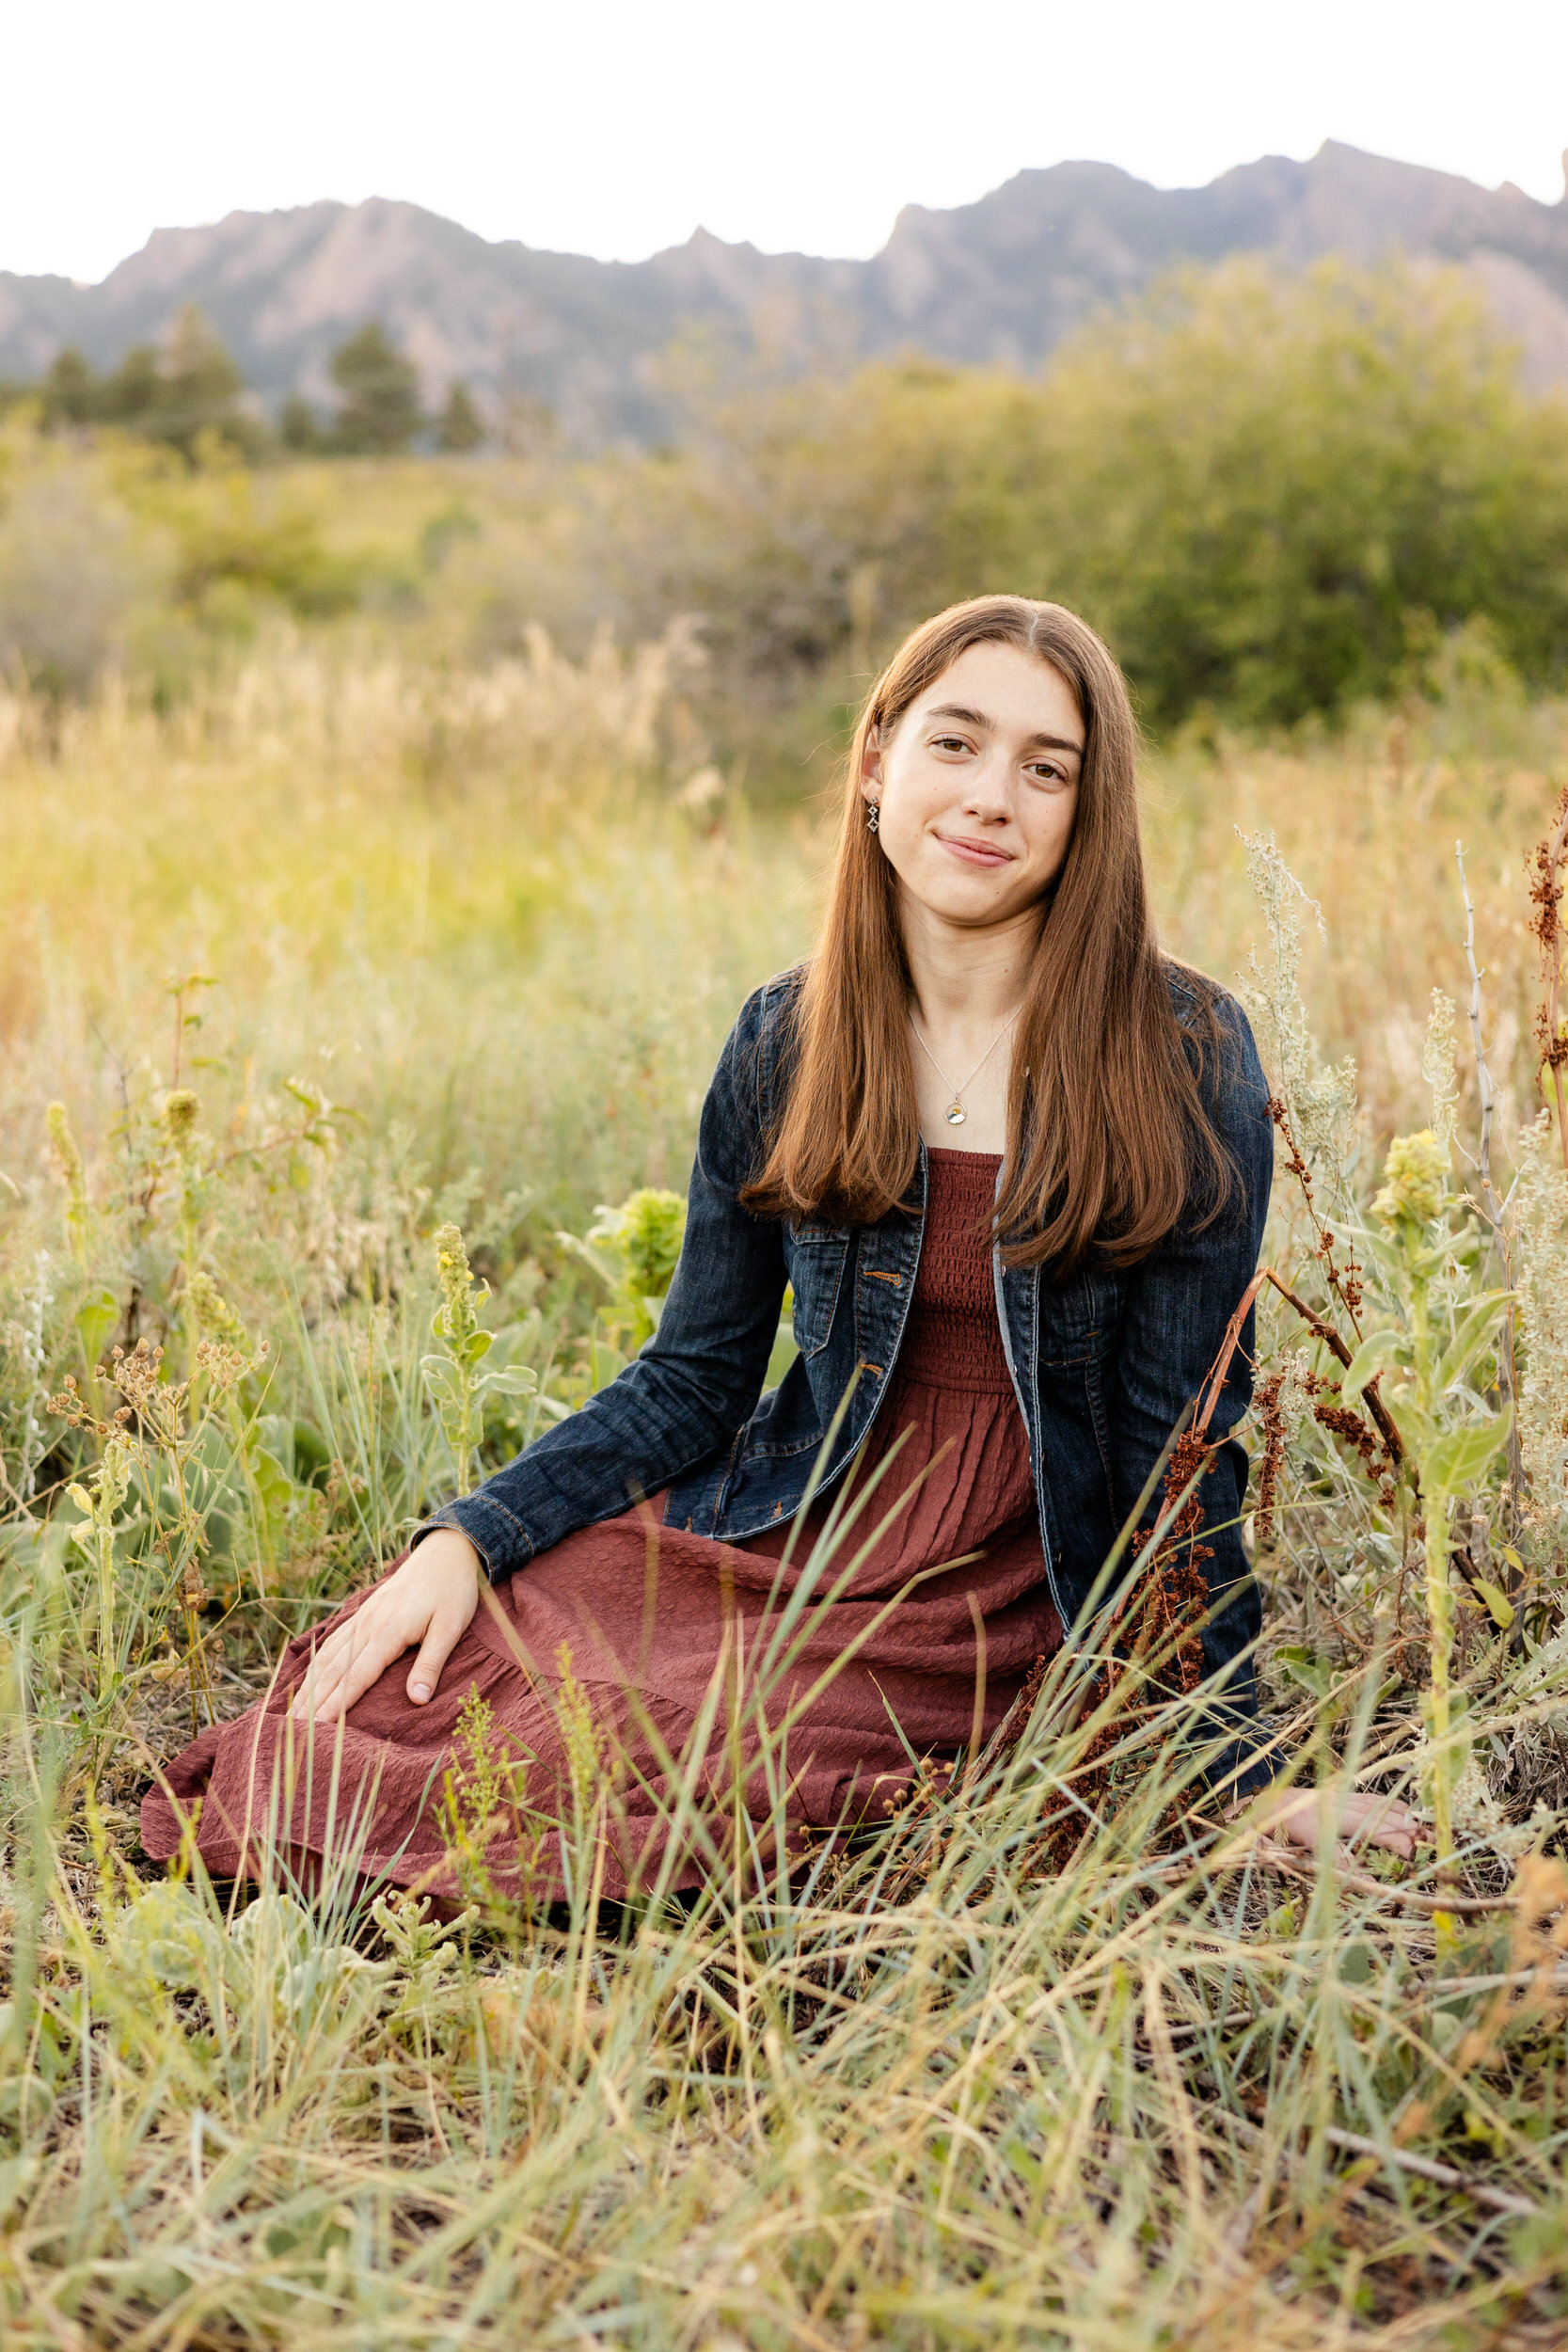
After Chautauqua Park, South Mesa Trailhead might just be the second most iconic mountain view in the Boulder area. And it comes as no surprise. I mean, look at the backdrop for Alexis’s senior portraits! Alexis specifically chose South Mesa Trailhead for her senior portraits because of the mountains there. Not only does South Mesa […]
READ MORE
May 18, 2025
May 18, 2025
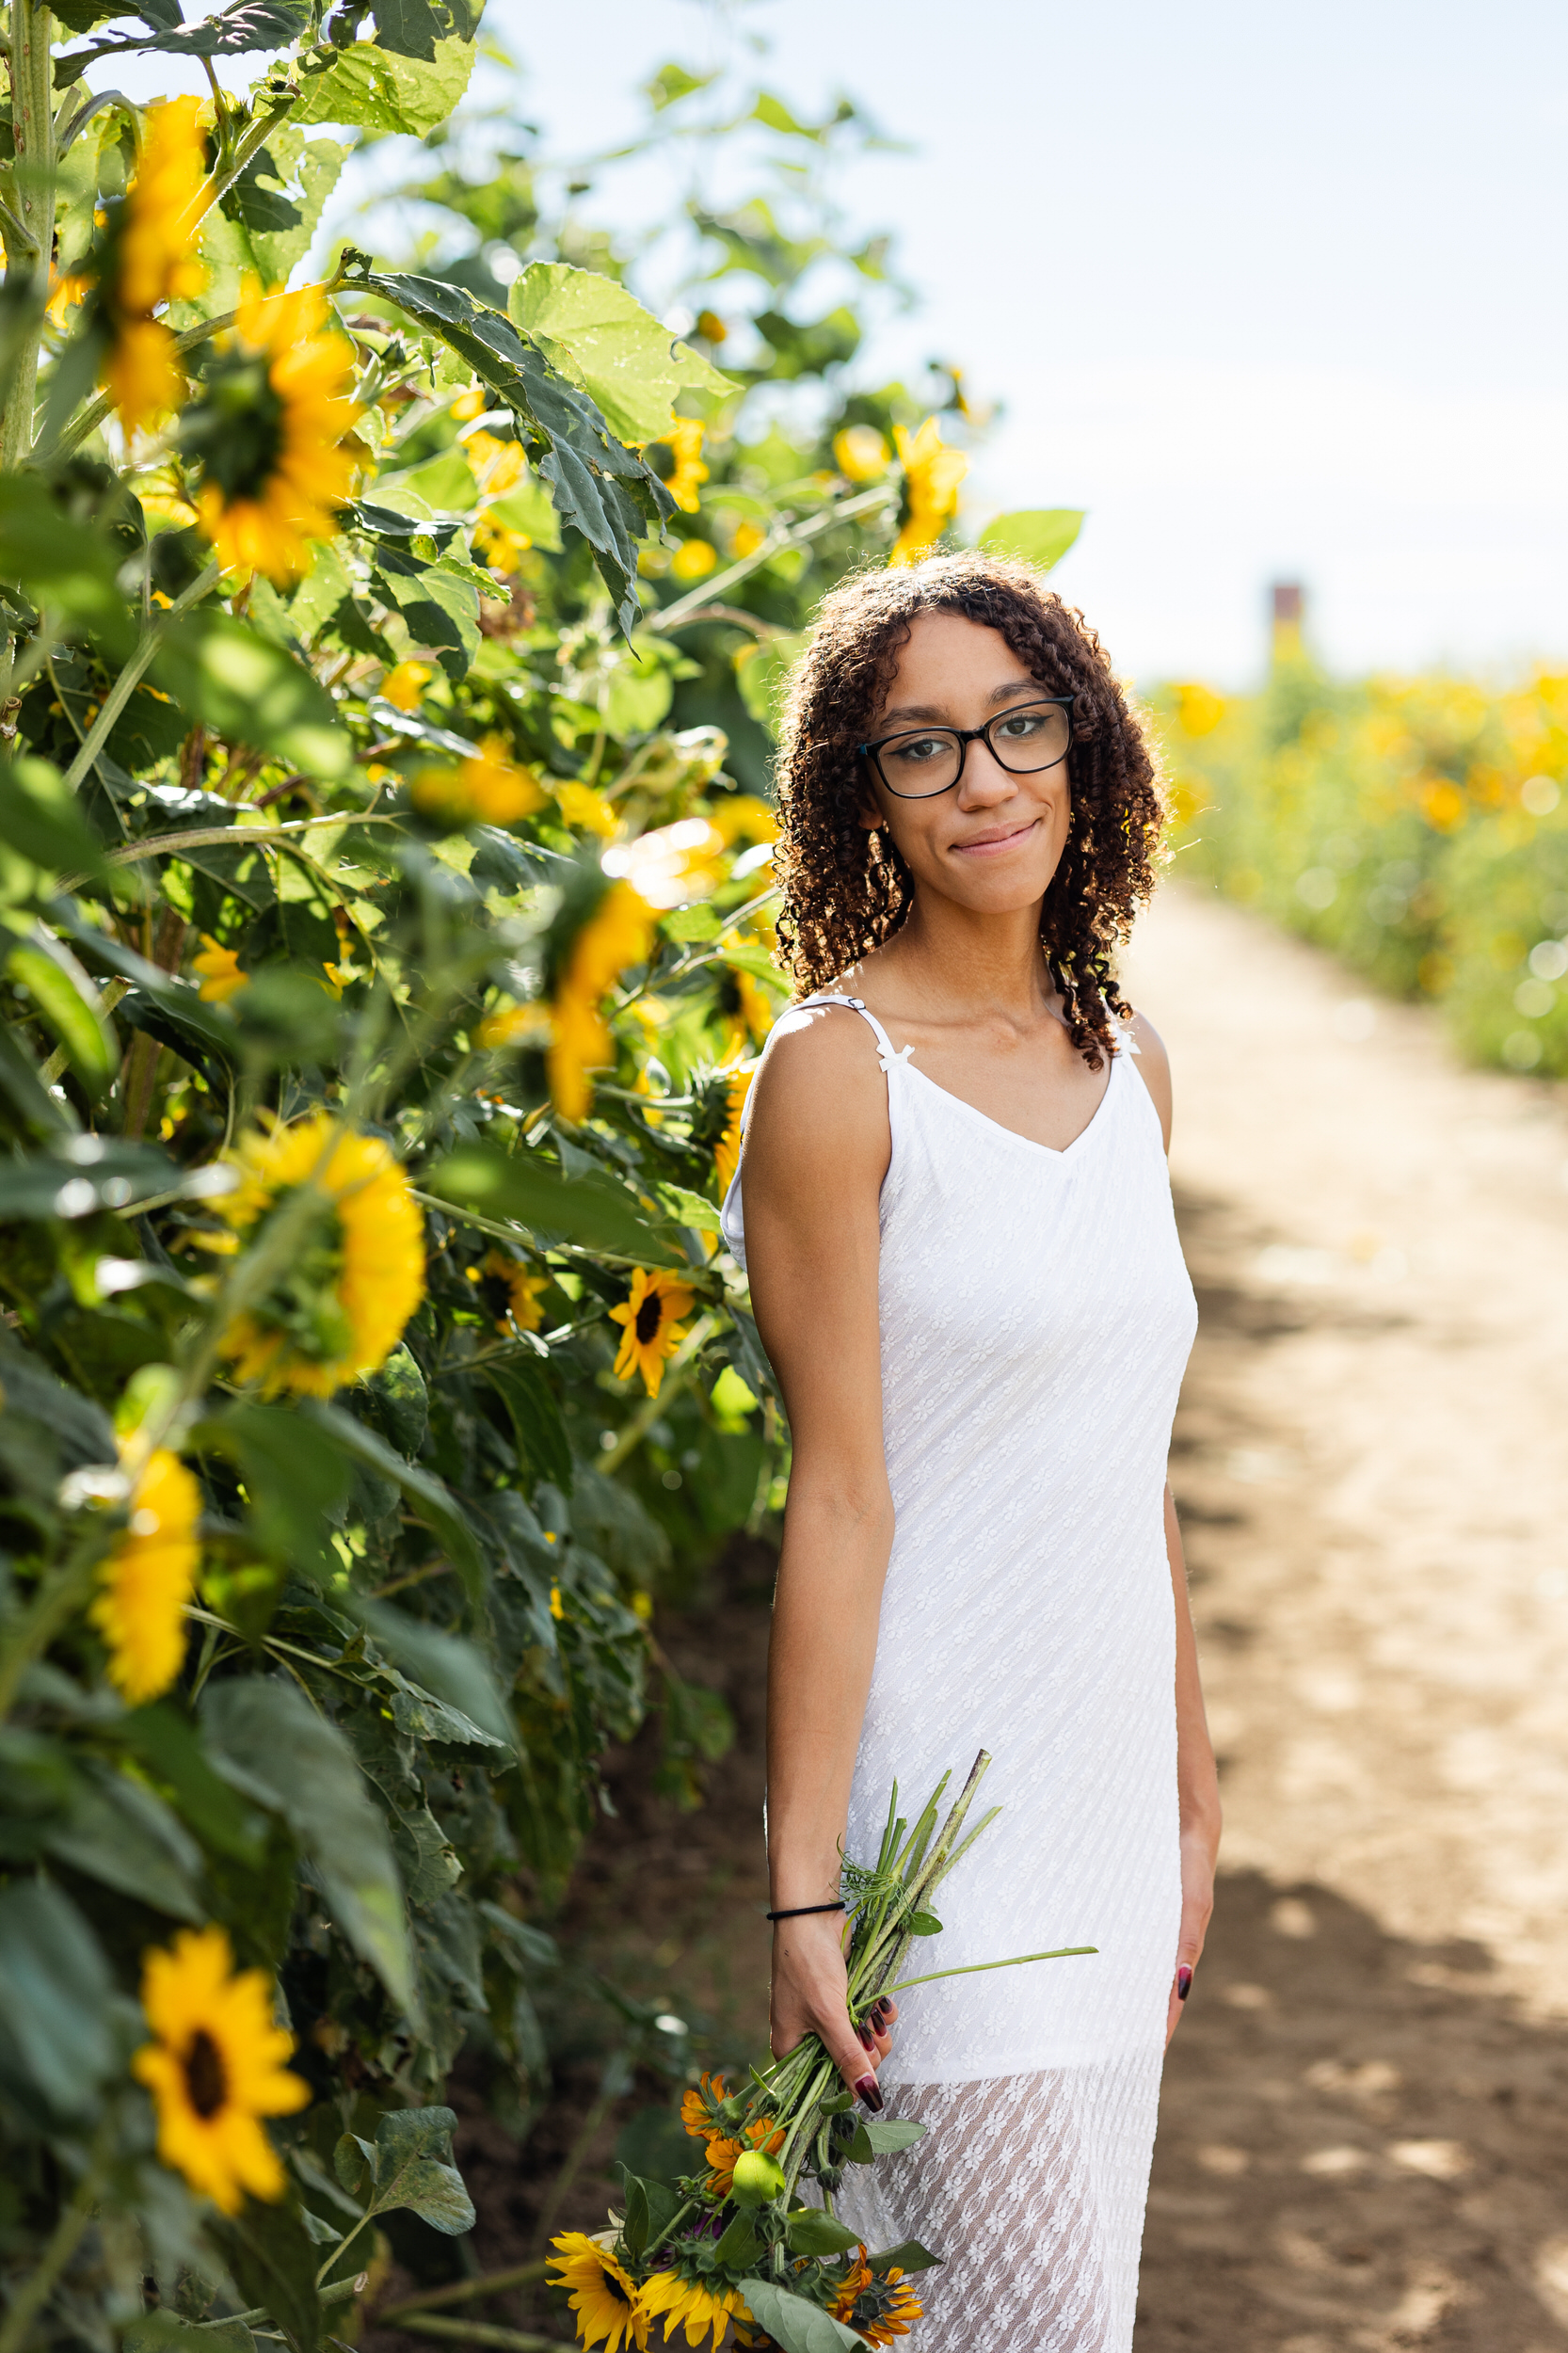
When I posted Hayden’s senior session at the Denver Botanic Gardens on my social media accounts, Nevaeh saw those photos and loved the vibrant colors from the flowers. Nevaeh knew she wanted something similar, but a little more rustic and I knew of the perfect location for her! Anderson Farms is an incredible session location […]
READ MORE
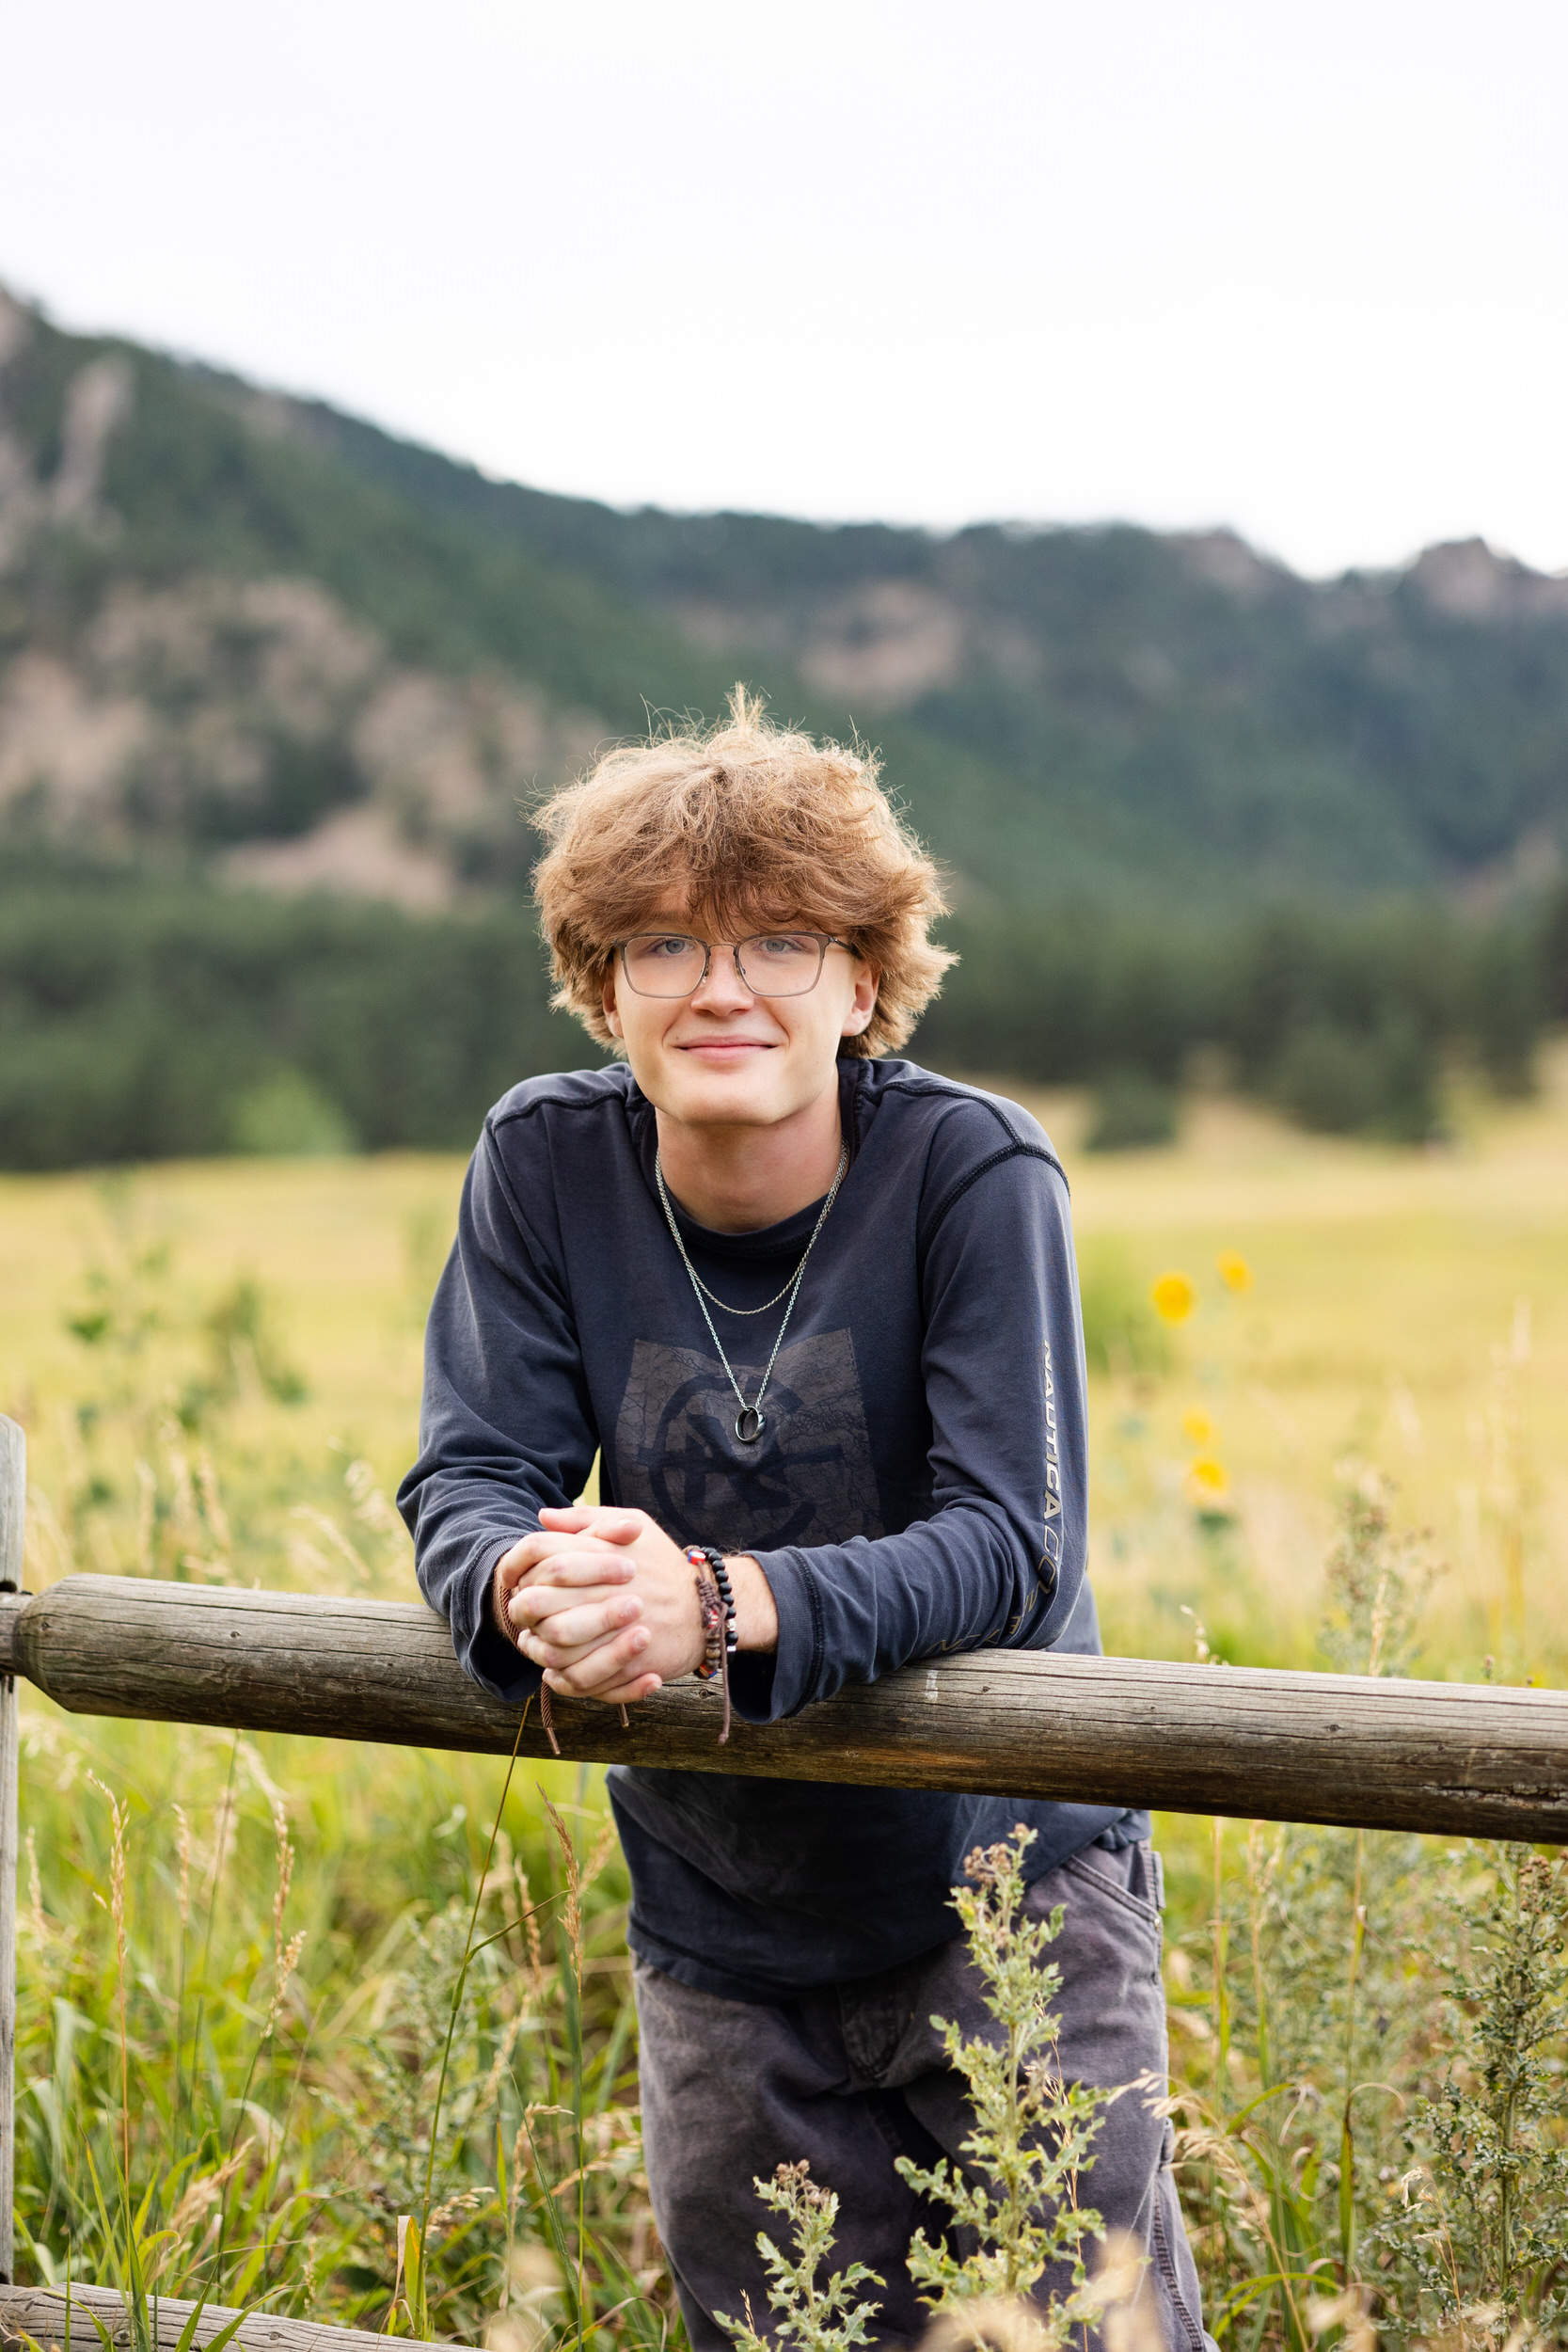
Like many young men in high school, Carter was not thrilled about taking his senior portraits. He was basically there to appease his mom! 😉 You’re not alone, Carter. Being in front of the camera can feel awkward. But, during his session, we managed to break through that awkwardness and have a good time! My […]
READ MORE
May 17, 2025
May 16, 2025
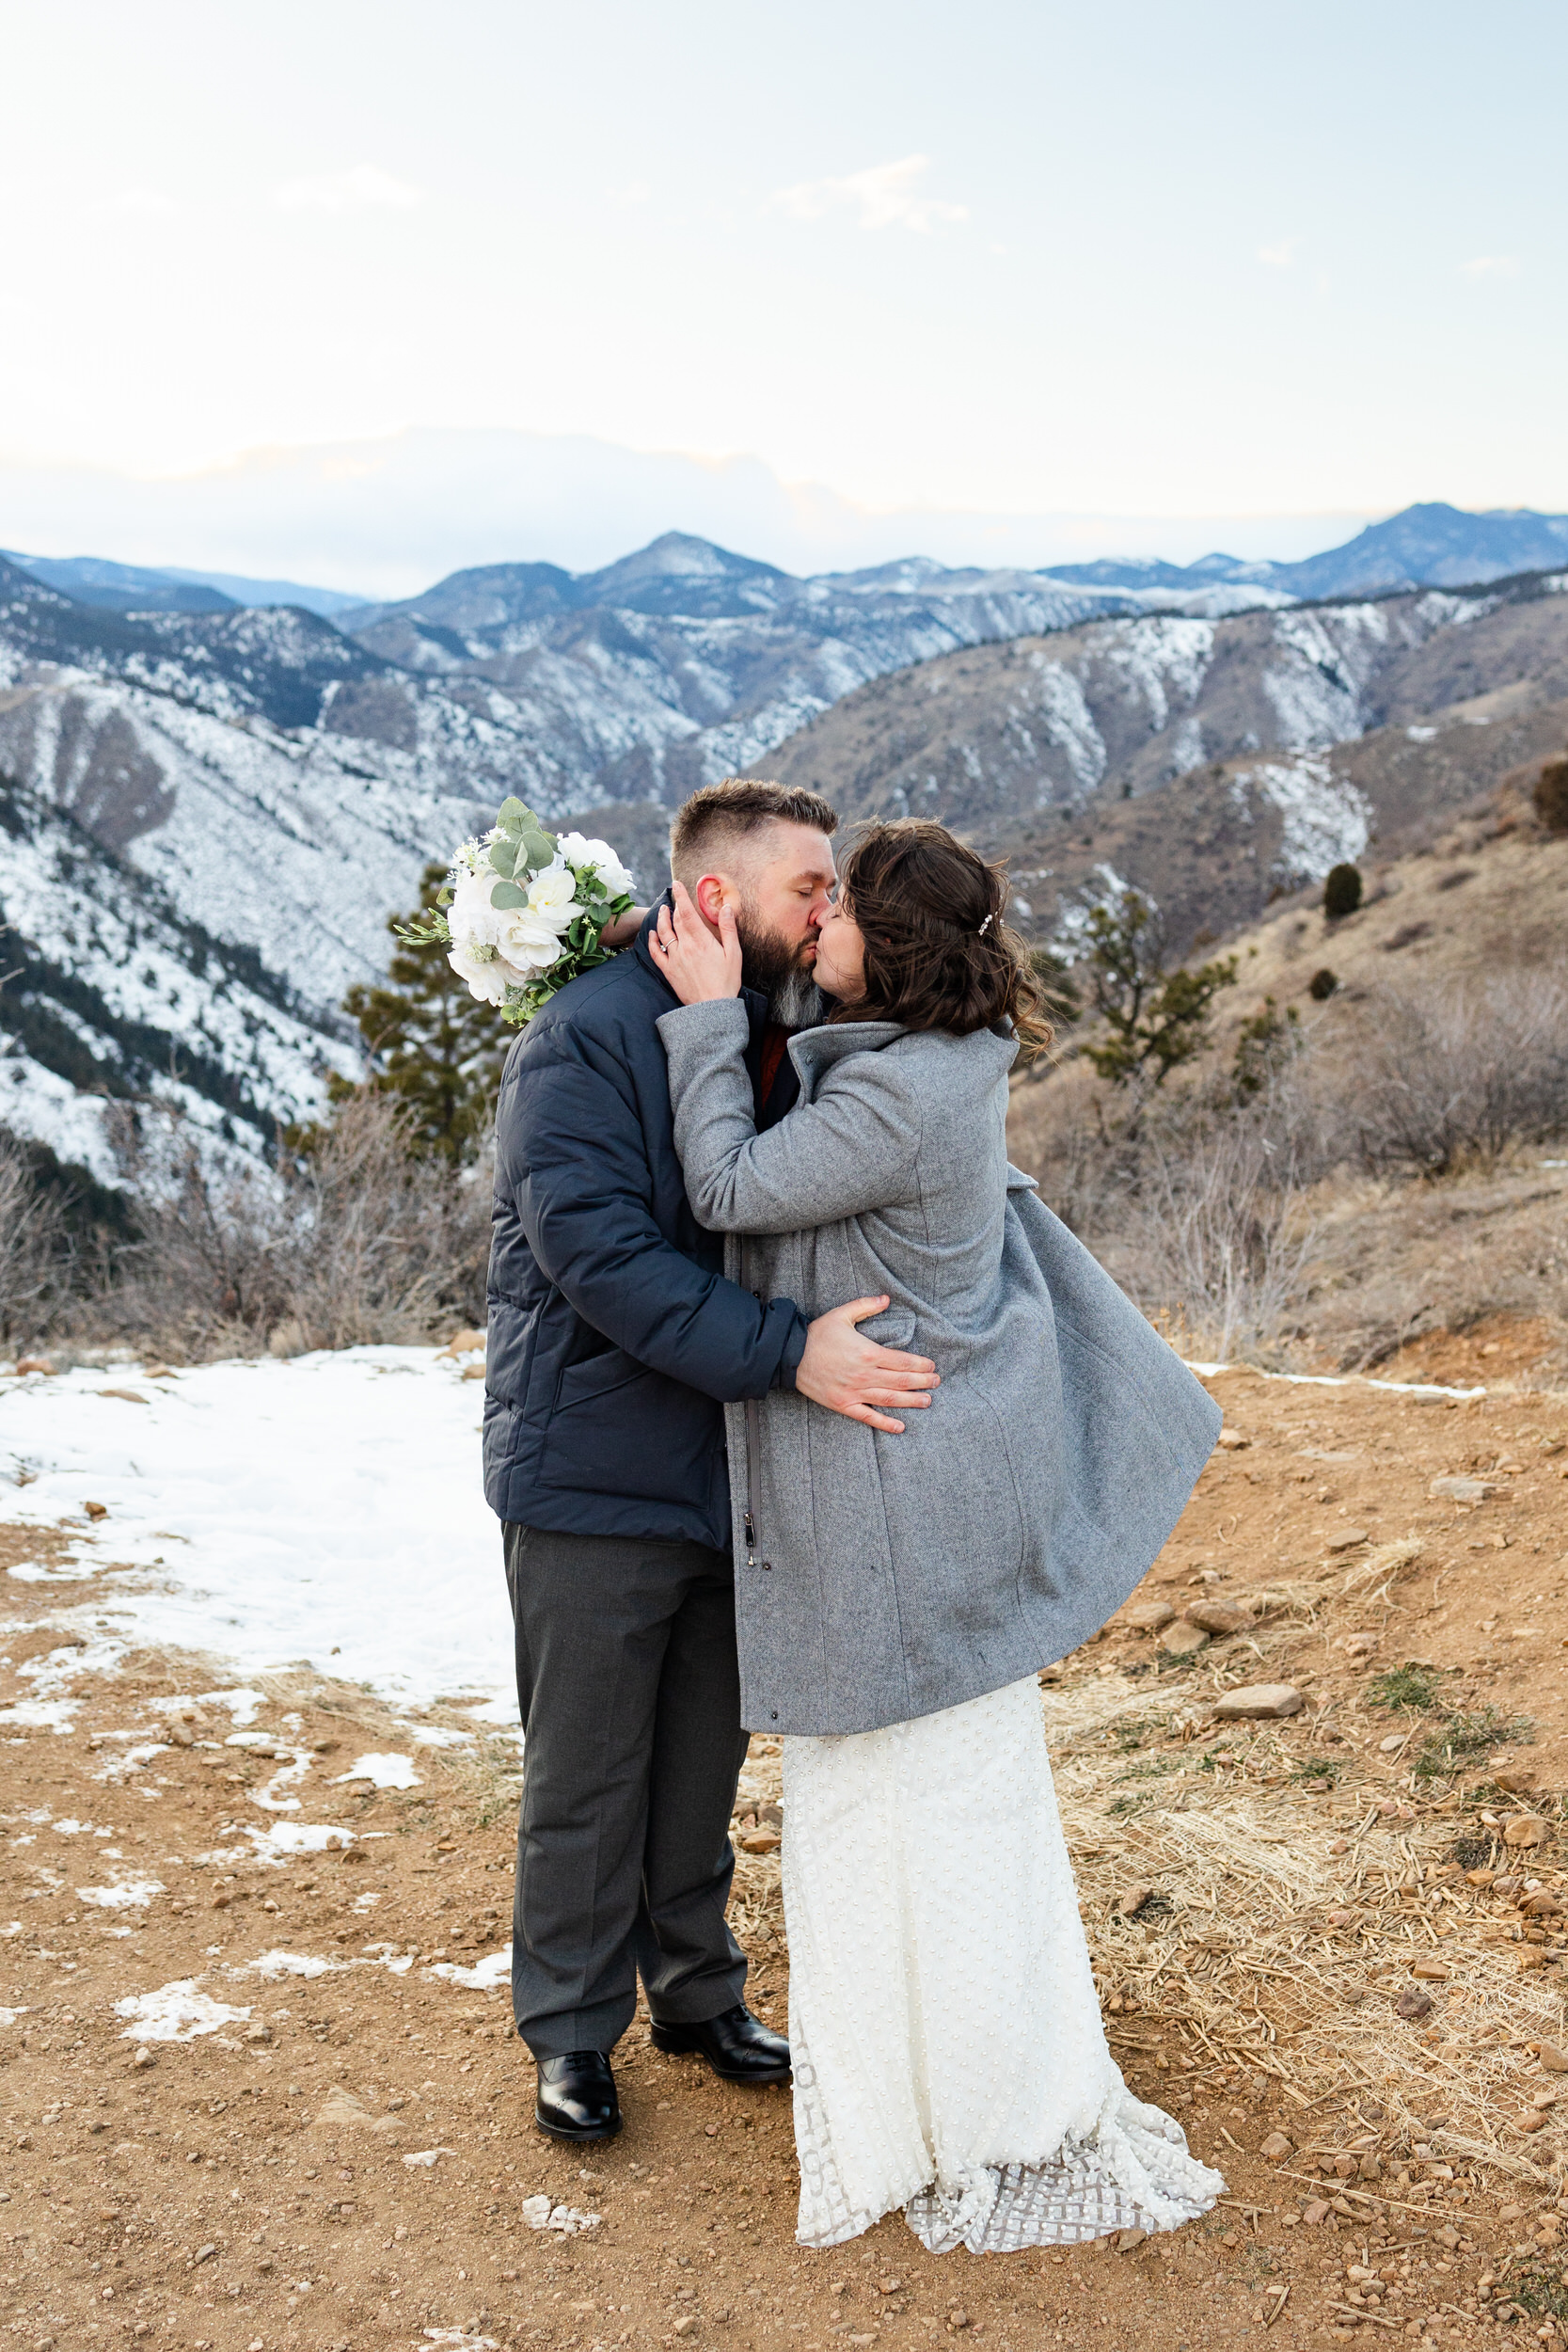
Jim and Kelsey’s fifth anniversary session in Golden might just be my coldest and windiest session to date! These two celebrated their fifth anniversary in January, and about five minutes into the session, Jim said, “we should have been married in June!”. Kelsey absolutely loves the snow and was determined to show off her gorgeous […]
READ MORE
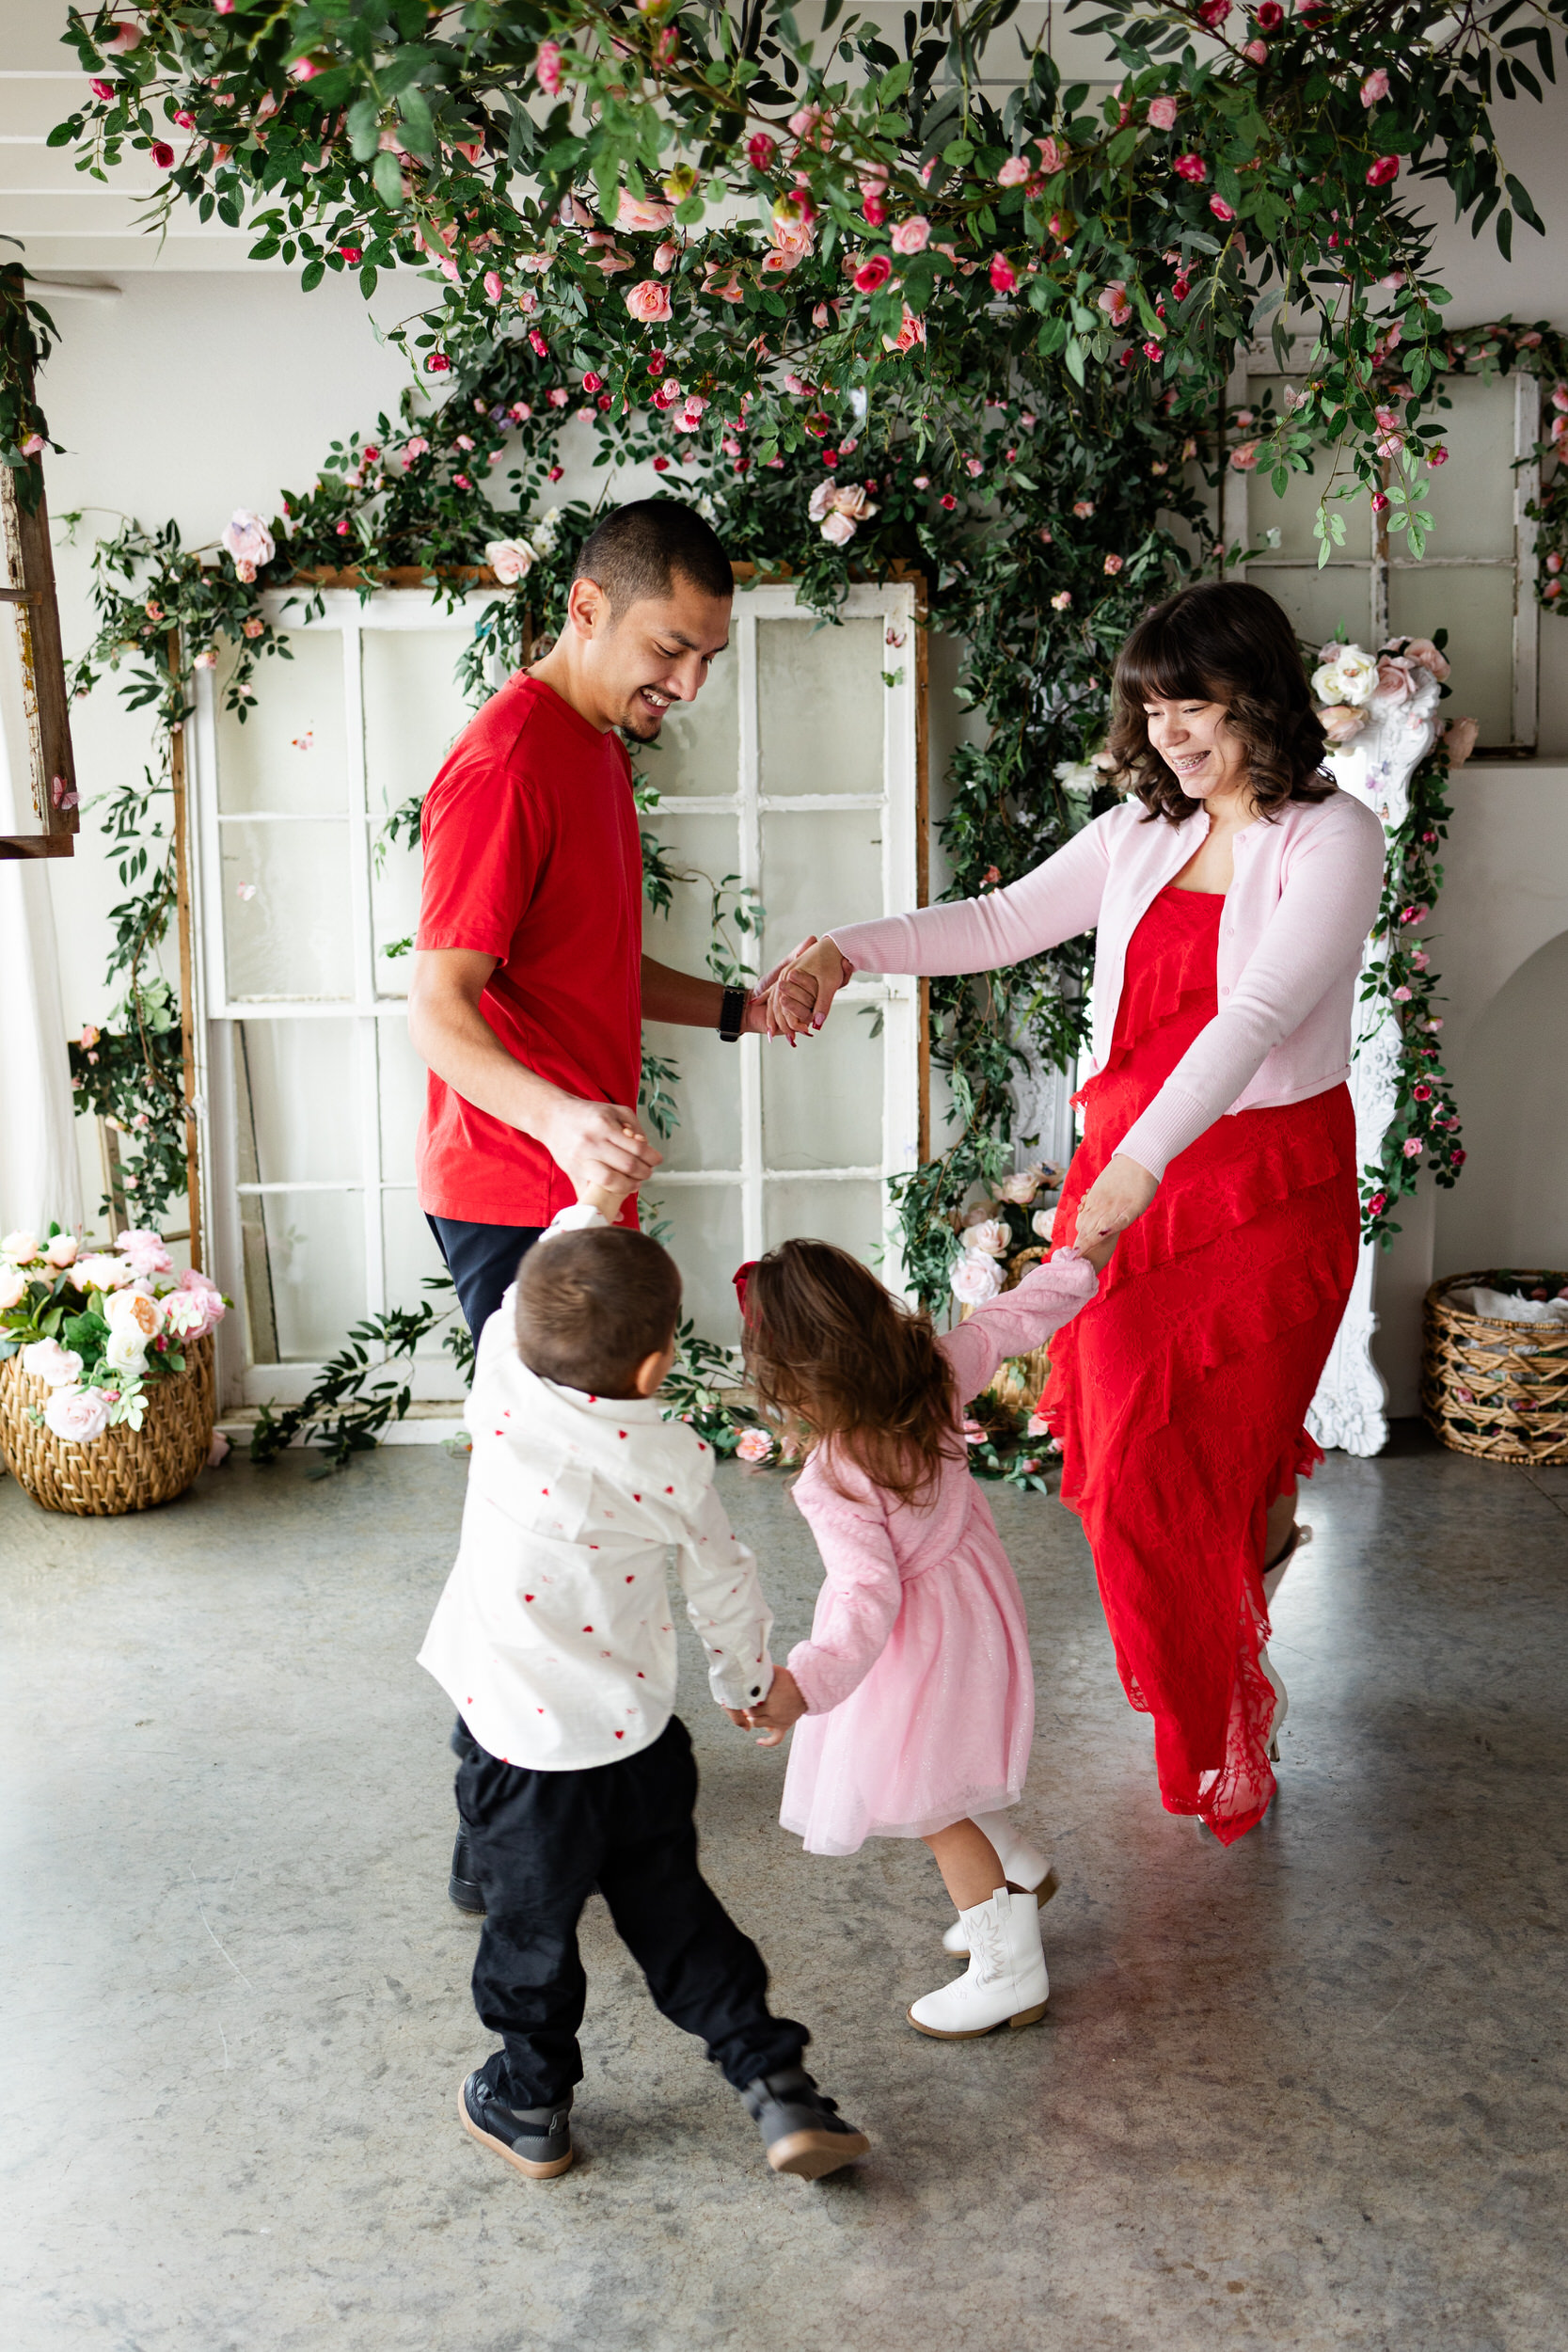
I’ve had the pleasure of knowing the Mendoza family for YEARS and have worked with them and other members of their family in the past. It’s always a delight to have them on the other side of the camera and this Valentine-inspired family photo session was no exception! We shot these family photos at Sugarhill […]
READ MORE
May 16, 2025
May 15, 2025
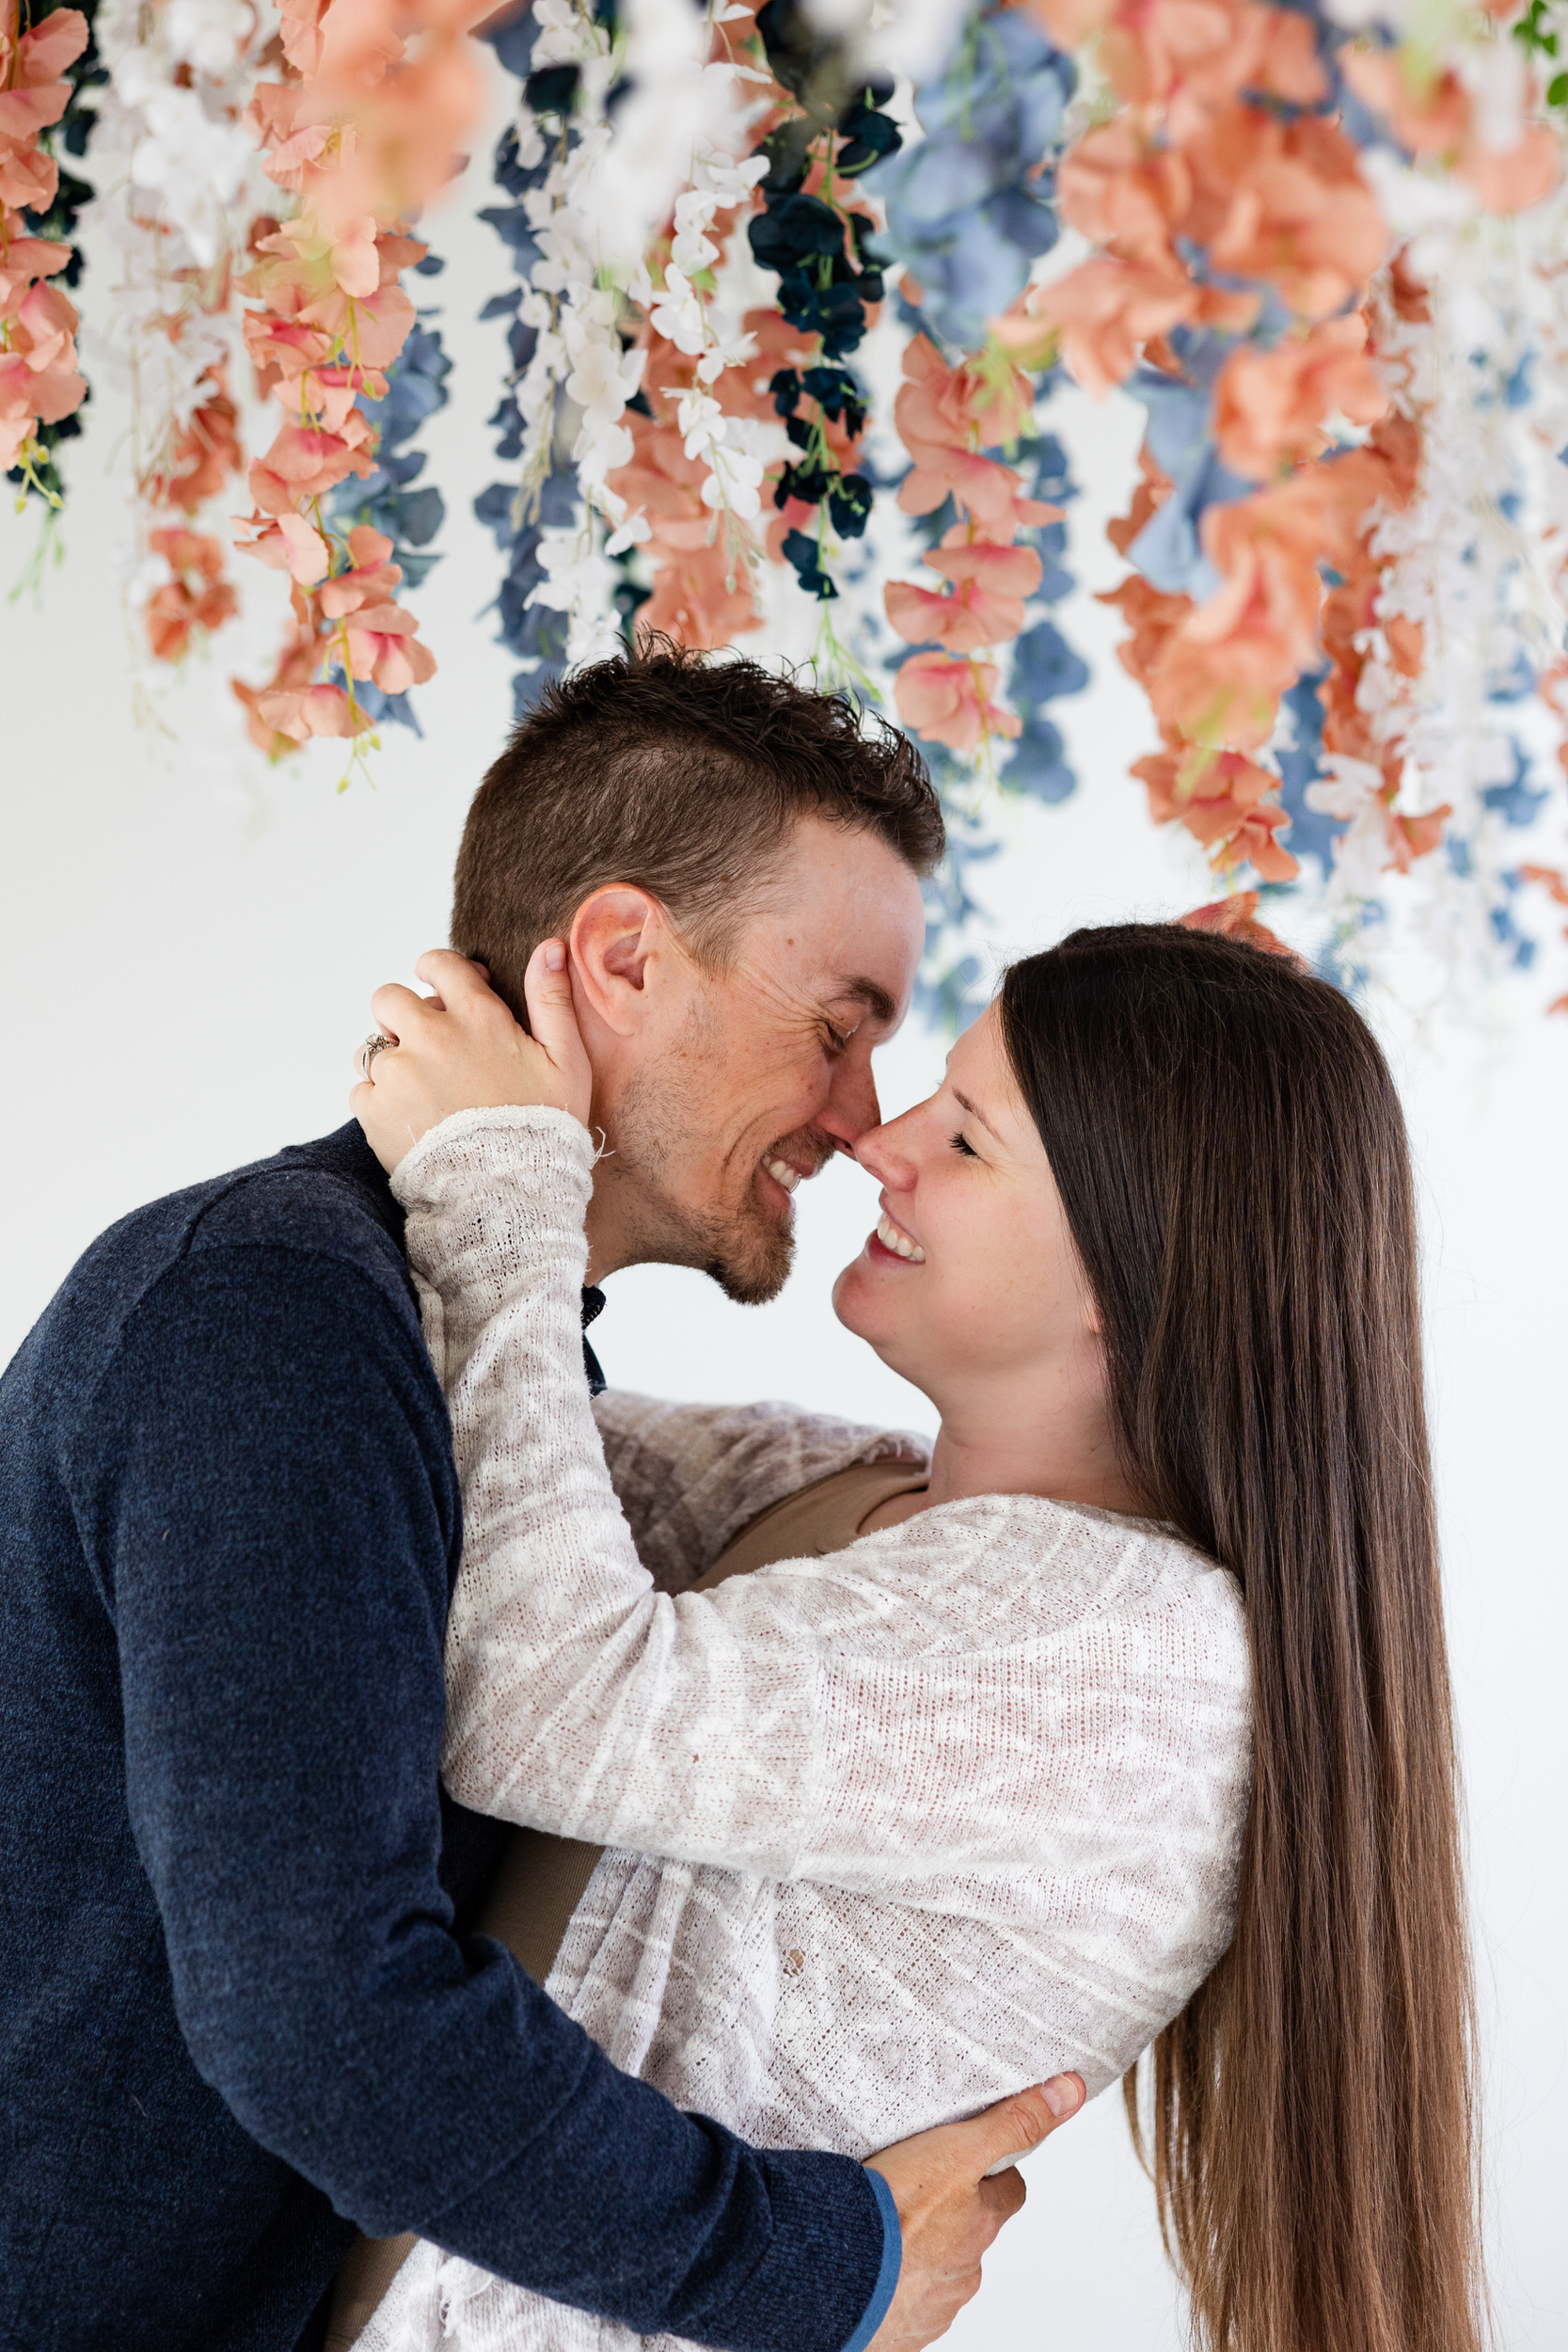
Spring mini sessions at Farmhouse Studio were bright and fun! Each year I offer a limited number of mini sessions on specific dates. Mini sessions usually take place in a studio with a unique, limited-time backdrop. I love working with florals, so you’ll see me do lots of mini sessions with some kind of floral […]
READ MORE
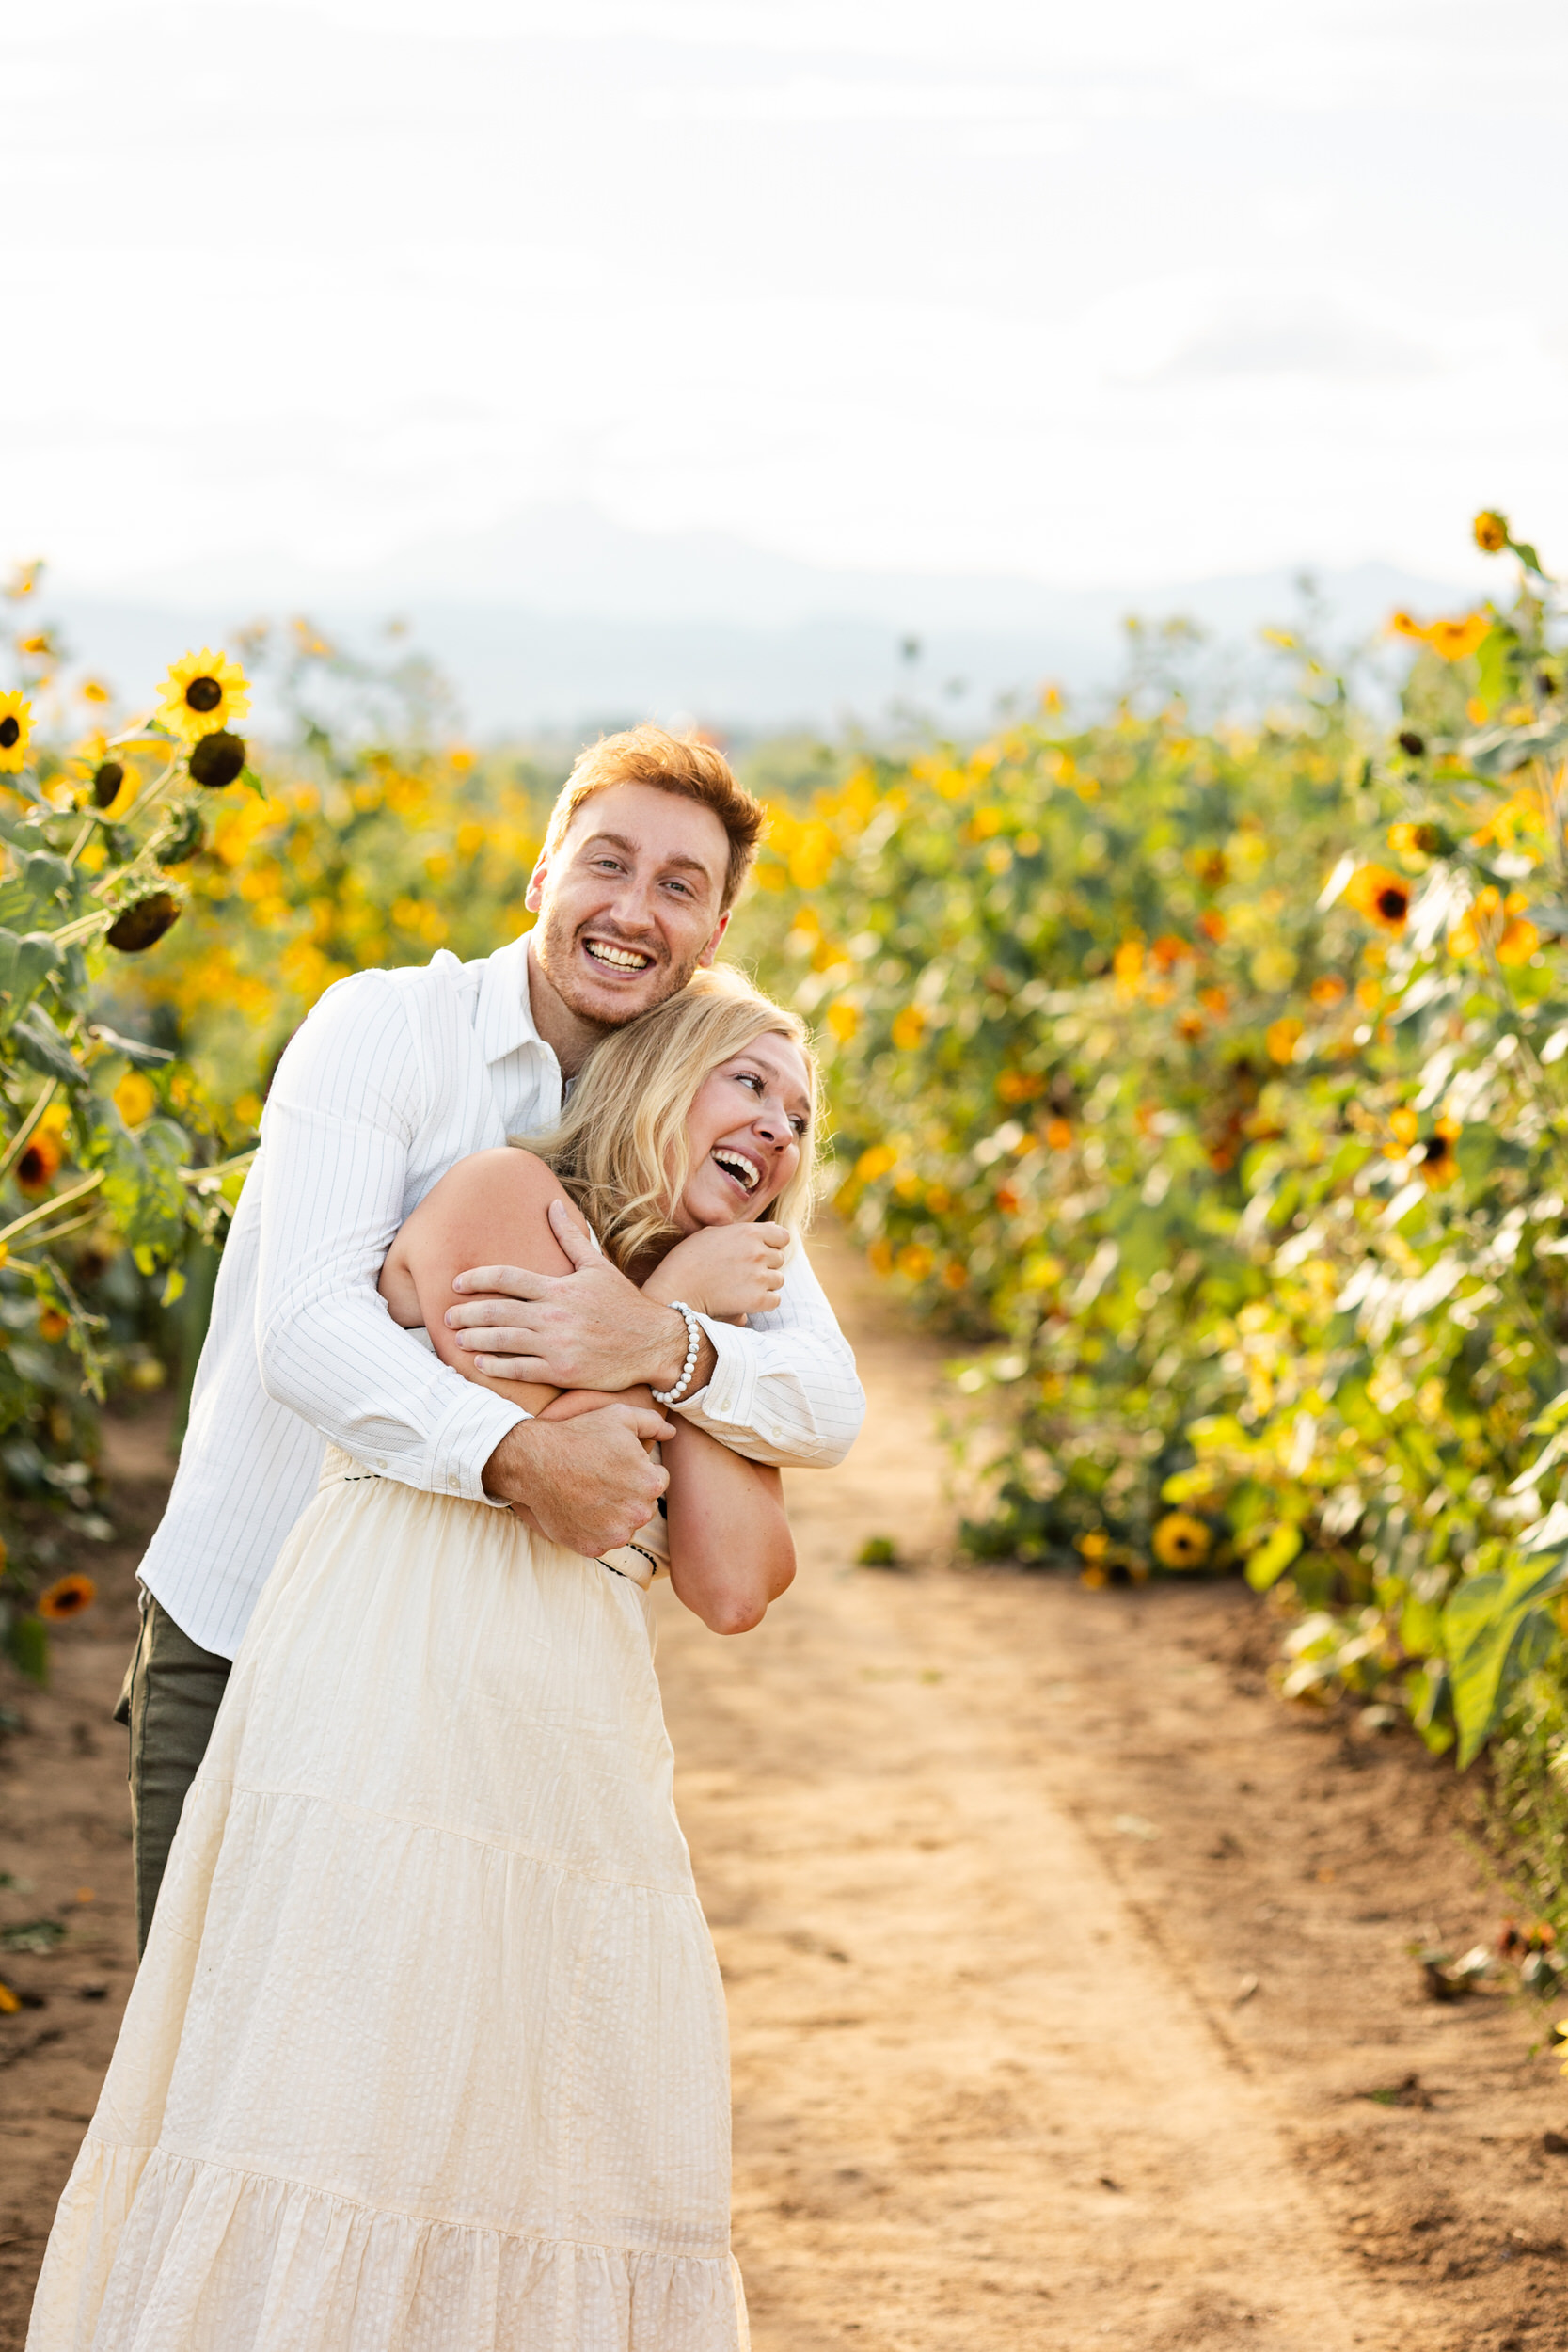
Grant and Robin’s proposal and engagement session in the sunflower field at Anderson Farms was one of my absolute favorites! It was so fun to be a part of that experience and watch Robin’s jaw drop when Grant surprised her by showing up unexpectedly in the sunflower field. Robin thought she was going to be […]
READ MORE
April 25, 2025
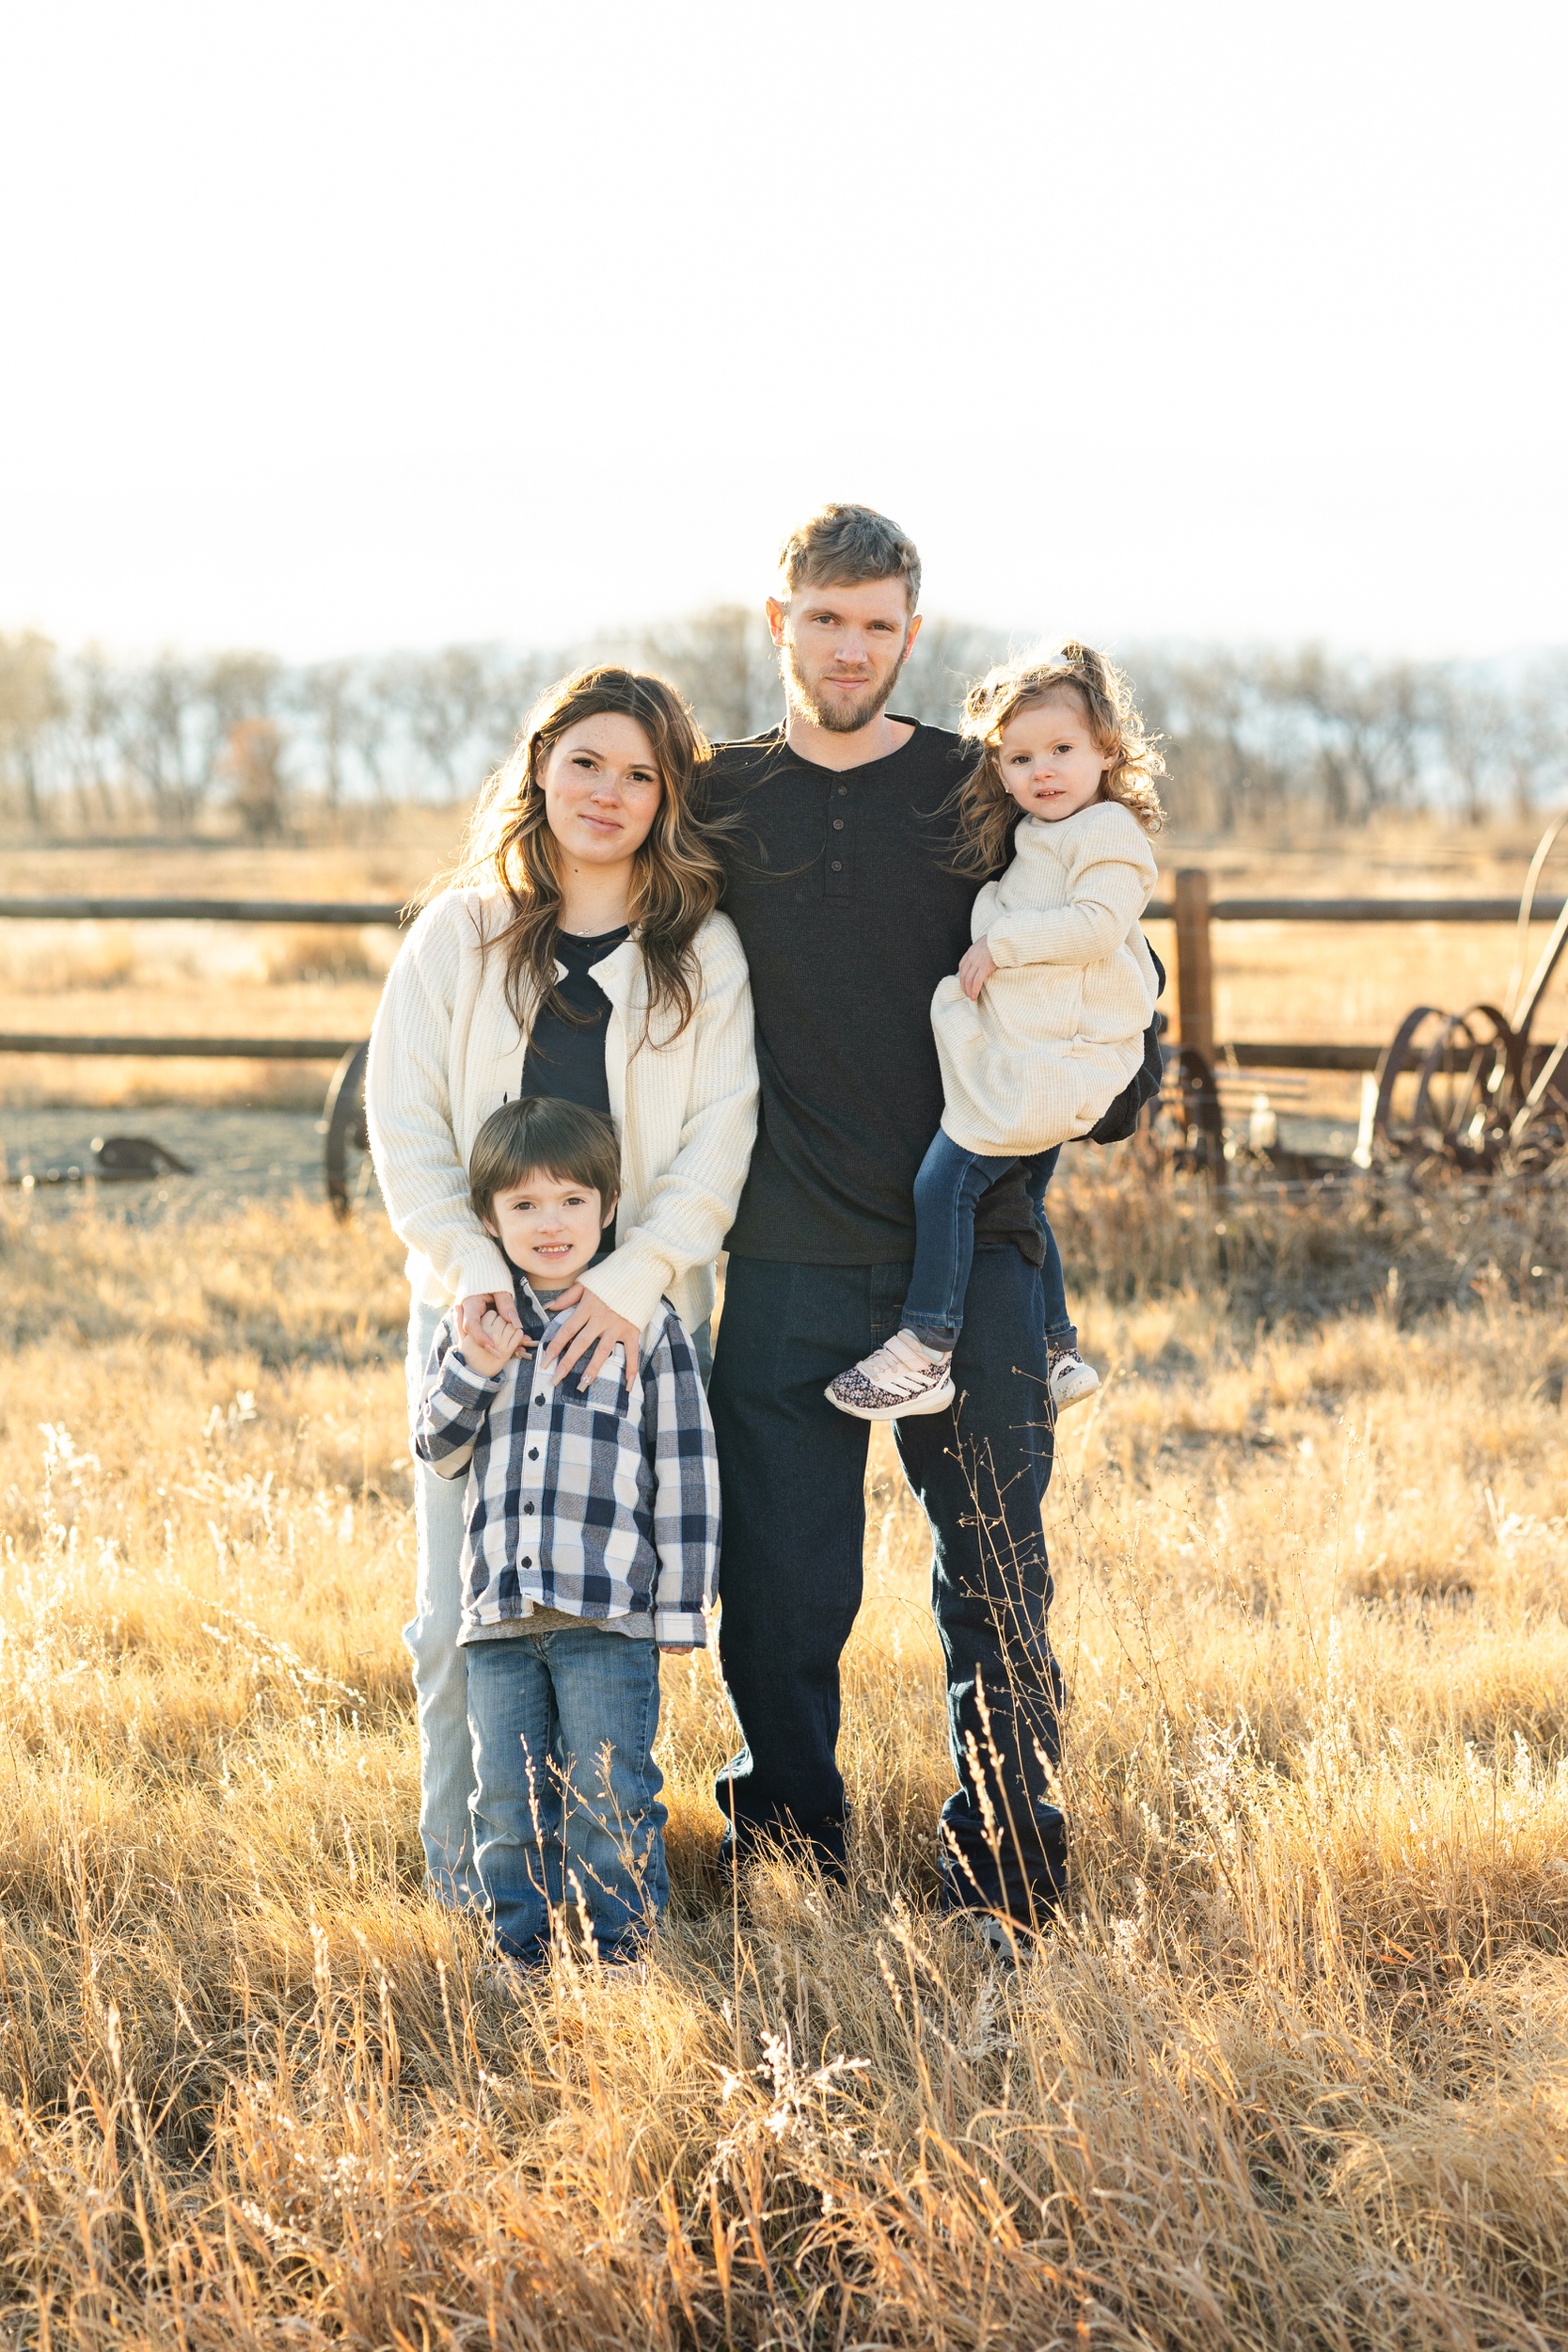
April 25, 2025
The Stewart family was referred to me by a previous client of mine and I am so happy to have met such sweet people! Their session took place in December on a cold and windy day. Fortunately, we were able to work with the wind and managed to have a great time together despite the […]
READ MORE

I’ve had the honor of knowing the Mendoza family for a very long time and I’ve been photographing them since the beginning of my photography career. It’s been so fun to watch them grow, adding five extraordinary children to their family over the years. The Mendozas asked me to update their family photos after they […]
READ MORE
April 24, 2025


